Example: How to Use AWS Instance Scheduler to Automatically Start and Stop EC2 instances
Go to your Amazon DynamoDB console and click Tables. There will be 2 tables, <stack-name>-ConfigTable and <stack-name>-StateTable. We will make some changes only on ConfigTable. You can find a lot of sampe config inside.
Or you can go from


Or you can go from
from
Resources, click ConfigTable. First, we need to create a Period that defines the time(s) the instance should run. Pick one of the sample Period and click Action > Duplicate.
A popup will appear and you can change everything you need like (more options in the docs):
- begintime, instance start time (24-hour format),
- description,
- endtime, instance stop time (24-hour format),
- name, period name (need to be unique),
- weekdays, days of the week the instance will run.
- then click Save.
Then create a Schedule, that specify when instances should run. Pick one of the sample schedule and click Action > Duplicate.
A popup will appear and you can change everything you need like (more options in the docs):
- description,
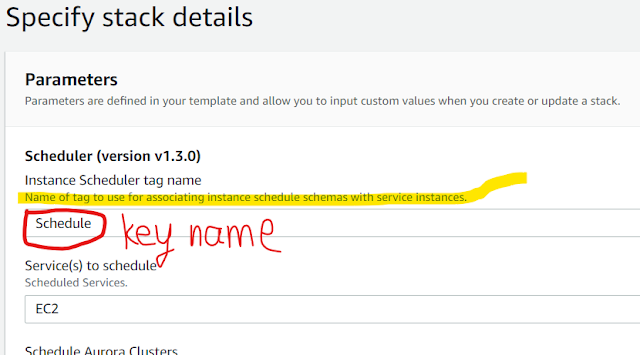
- name, must unique because it will be used as tag value on the tagged resource,
- periods, must at least 1 period to be used to defines time(s) the instance should run,
- timezone,
- then click Save.
Now you need to tag all of your instances that will be affected by the scheduler.


Comments
Post a Comment